
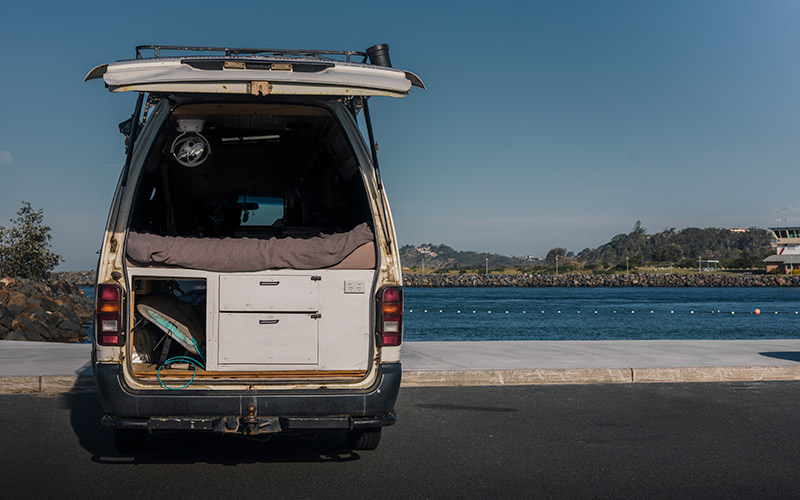
Michael D’Argent is a photographer and videographer who is travelling Australia in a van conversion with his friends. But travelling up north, or in outback South Australia, presented a major issue: the lack of airflow.
“Being in a van when it’s stinking hot and you’re trying to sleep, without any airflow, is not fun,” he said.
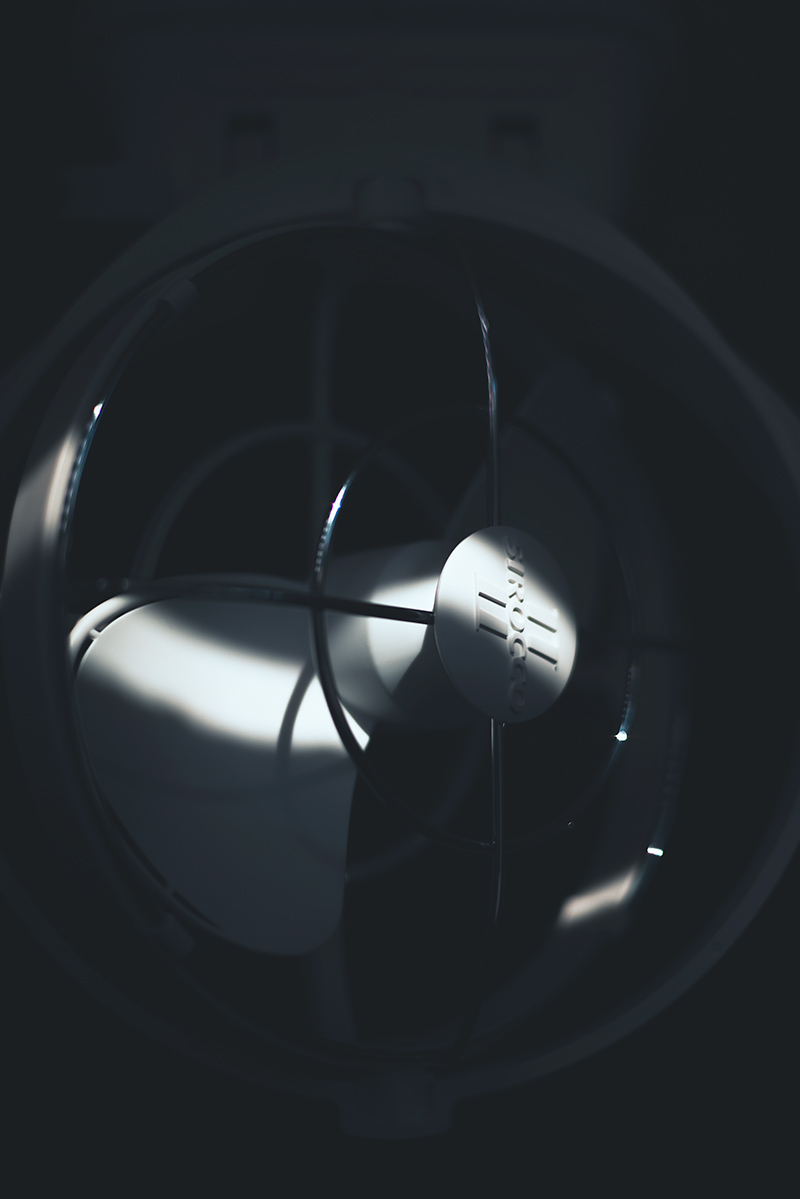
We presented Michael with a simple solution: fit a Sirocco II fan. Michael, it turned out, was more than up to the task.
SIROCCO II INSTALLATION
This van conversion was done primarily by Michael. “Airflow is the most important component to consider when renovating a van,” he said. “The Sirocco II fan maximises airflow, and eases any worries travelling in the Aussie summer heat.
“Unboxing the product revealed a simplified approach with minimal components to work with, making for an easy installation process. In the box, you receive the fan, a base plate, screws, nuts and a cable to hook up to power – the only tool you really need is a drill.”
 Michael’s van conversion included a piece of ply fitted behind the driver and passenger seat. Connected to the deep-cycle house battery, which is between the ply and the driver’s seat, is a 12V fusebox, which Michael had mounted to the ply.
“As someone who has renovated a van, some key factors for me to consider was the positioning of the fan installation, including how far I needed to run a cable from the fusebox to the place of installation, and where was the best position to maximise airflow,” Michael said.
As part of his van conversion, Michael had lined the ceiling of his van with pine tongue-and-groove boards. He selected the rear nearside as the Sirocco II’s final position, and drilled a hole in one of the pine boards. It was then just a matter of feeding cable through to the fusebox and connecting the wires provided as part of the Sirocco kit – positive to positive, and negative to negative.
Michael fed the wires through the fan’s baseplate, and then simply screwed the baseplate to the pine ceiling.
Then, it was just a matter of connecting the positive and negative wires to the corresponding lugs on the fan, and then snapping the fan onto the baseplate.
“The Sirocco II fan is great as it has a 360-degree swivel, it folds up quite nicely against the ceiling, and has three fan settings and a timer,” he said.
 “Sirocco fans are ideal for backpackers as well as caravanners who want to renovate a van like myself, or a secondhand caravan, and hit the road around Australia, especially amongst the tropical northern regions.” Sirocco recently extended the warranty on all Fans, which means from early 2023 all Sirocco Fans come with a three year warranty (including the ones in the field already).
“It’s a no brainer if you’re going up to Queensland or South Australia, where it gets pretty hot – you’re kidding yourself if you didn’t want to have as good airflow as this fan will give you. It just changes the game.
“All up, it was pretty easy to install. It only took me 30 minutes and I had no issues whatsoever. Sirocco really makes it easy for you.”


