
As a family of five with three children very close in age, it was important for us to have a reliable internet connection as we travelled this wonderful vast country of ours. Previously, we had relied on our mobile devices only as our link to the rest of the world while travelling for short periods but we knew this wouldn’t be enough once we started our big lap.
COWFISH ARRIVES!
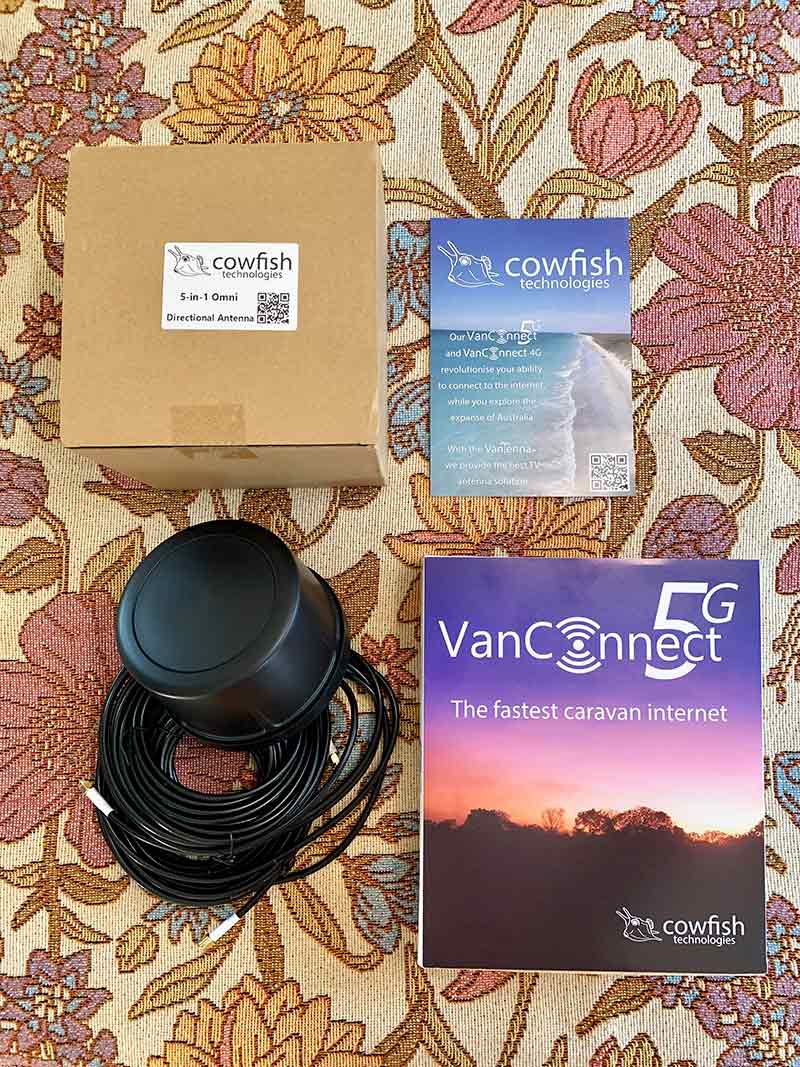
When it arrived, we found the VanConnect 5G premium kit from Cowfish Technologies to be well boxed in a neat, single package. Each piece was well protected from damage during transport and delivery, which means you can expect to get everything you need to get the system up and running without any problems.
The router and external antenna are in separate boxes and a ready-to-go mounting bracket is placed on top with protective film still intact, awaiting installation.
 The router is supplied with mounting brackets, four internal 3G/4G/5G and two internal wi-fi antennas, an ethernet cable and a 12V cig-style power cable. The external antenna is supplied with 3m of pre-terminated cables and a large split nut and washer, which makes for easy work when fitting to the supplied mount plate for installation on the roof of your caravan, motorhome, or whatever it is you are installing it on.
The instructions for guiding you through the installation are fairly basic but this is due to the VanConnect being as straightforward as it possibly can be for the user to install. One thing to note: it’s best to do this where mobile reception is guaranteed as you will need to scan the QR code to download the instruction manual as well as for some of the set-up tasks.
INSTALLATION
In our case, installation only took an hour or so, but this could be different for everyone given the vehicle you are intending to install it in and, of course, your personal ability. It is best to engage the help of a professional if you are not confident in working on your own caravan/RV. It’s also a good idea to plan out the installation before drilling any holes in the roof or wall of your home on wheels.
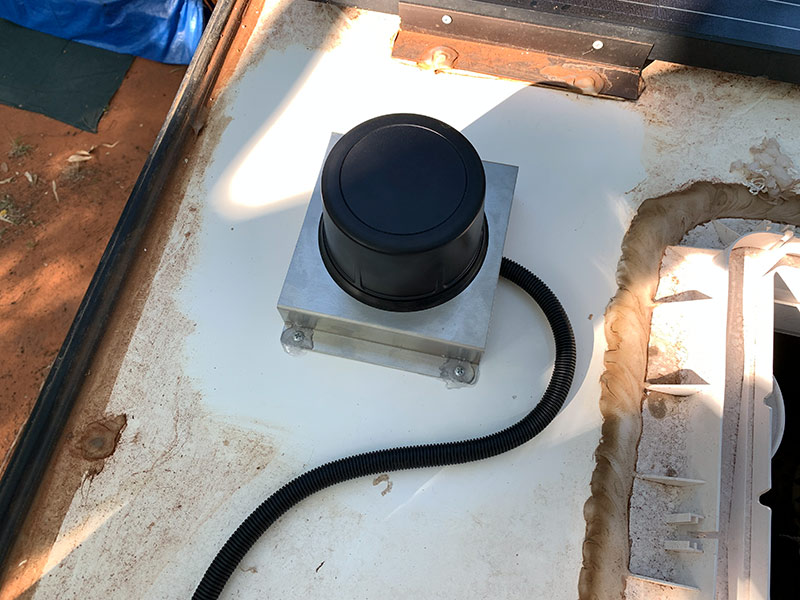
With the help of the supplied hardware, the antenna was mounted to the bracket and the bracket to the roof of the van. All that was required was four screws and some good quality silicone. The already attached and pre-terminated external antenna cables were run into the van through an existing roof vent, which provided adequate weather protection, and after a few dabs of silicone, the roof installation was completed.
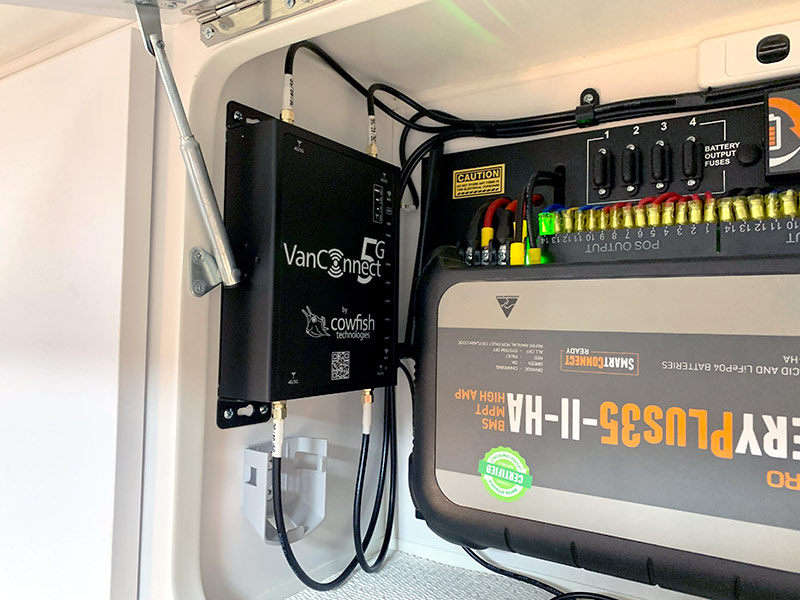
After I managed to squeeze my way down through one of our roof vents and down the kids’ bunk ladder, it was time to mount the router and connect the antenna cables. Once again, this was straightforward – the instructions were clear and easy to understand.
We had an additional step, which was to install 12V power supply to power the router, but this was easily completed by connecting to a nearby 12V circuit. It might also be worth mentioning at this point that I happen to be an electrician with plenty of experience working on 12V systems.
Once all the hardware was installed, it was time to plug in the SIM card and power it up. We already had a Telstra plan and SIM so it was simple to swap this over from our old device to the Cowfish unit. The best part about this Cowfish unit is that it is unlocked, which means it can support any SIM from any provider. If you already have a plan, you can just place it into this and away you go.
POWERING UP
Time to power it up and set it up! Well, to be honest, there was not much to set-up, either, which is great for most people, including myself, as I am not exactly savvy when it comes to IT.
The main thing you need to understand is that there is no wireless password set by default and this is generally recommended for network security. The last thing you want is your neighbour chewing up your data by streaming their favourite TV series.
The process to make the necessary changes in the settings is well laid out in the manual, which once again makes this unit a great choice for most users. There are also great screen shots inlaid in the manual to assist you to make the correct changes.
So far, the speed of this device is noticeably faster than our old device. We can stream movies and TV with ease and have spent, sadly, many hours on social media apps both inside and outside the van, and even made international wi-fi calls to our mothers without a glitch.
More information: www.cowfish.com.au
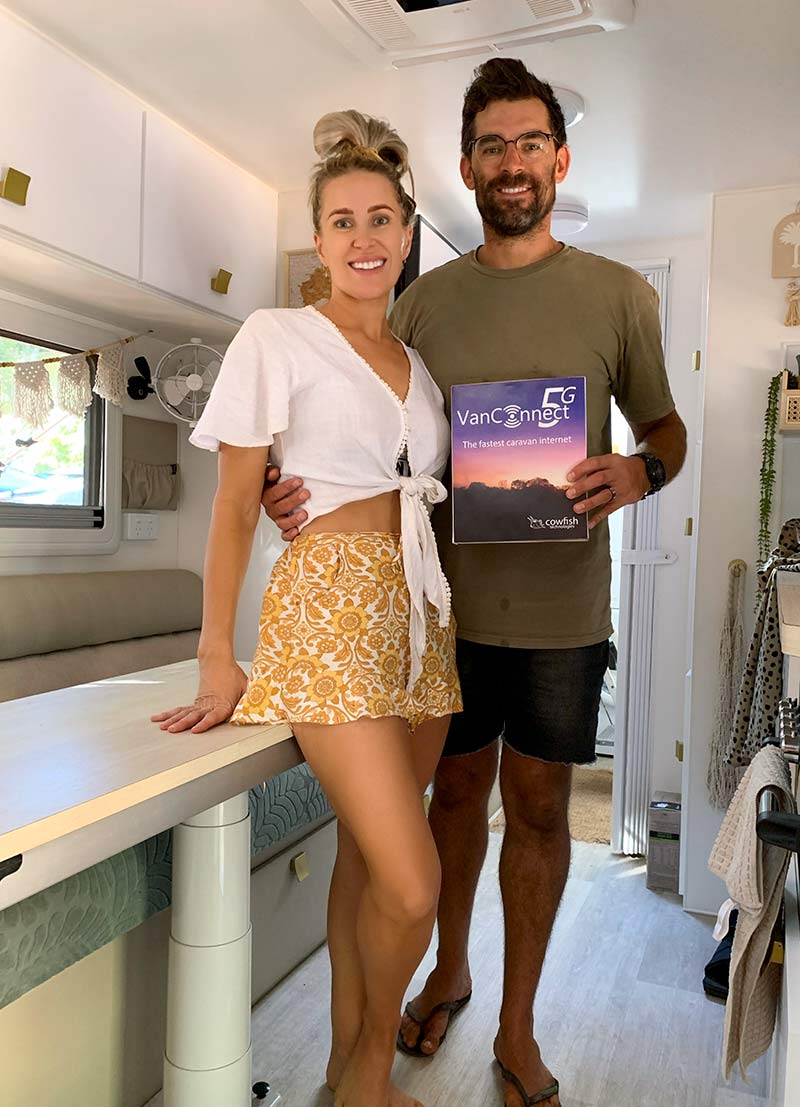
– Kat and Stu Sobczyk, ‘Retreating Into the Sunshine’


